Manually Making a Document Accessible
If not using the Check Accessibility Tool, use the following steps:
-
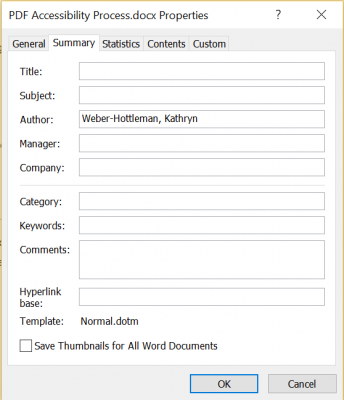
Under File, select Properties
- Click Advanced Properties
- Under Summary, add a Title property
- The Title must be descriptive of the document’s content; it may be the same as the filename
-
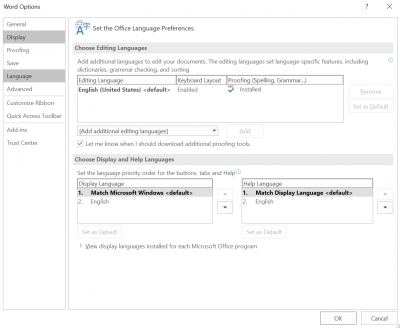
If your document is in a language other than English, select Review
- Under Language, choose Language Preferences
- Set the editing language and, if necessary, the display and help languages
-
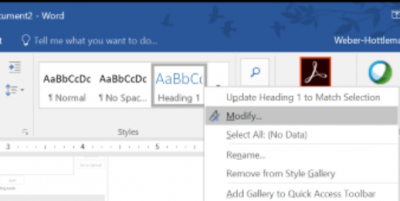
Use predefined heading styles to create semantic structure instead of bold, italics, or underline to set apart headings (Heading 1, Heading 2, etc.)
- In your Word document, under Styles, select the heading level you would like your text to be. Typically, there is one Header 1; subsequent headers are Header 2, then Header 3, and so on.
- Use heading styles to determine heading levels for your document
- Rule of thumb for headings: Typically, the bigger and bolder the heading is, the higher the heading level
- Change the appearance of the heading style
- Choose the heading style you would like to change
- Right click on the heading style
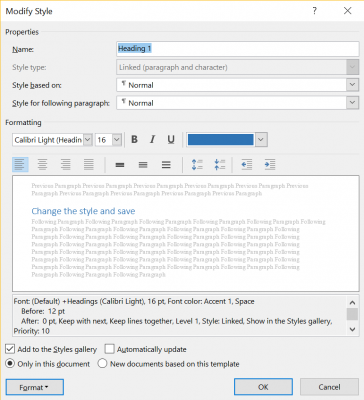
- Click on modify
- Change the style and save
- Avoid hitting Enter or Return after a heading to create extra space after your heading
- Instead, highlight text after which you want the space
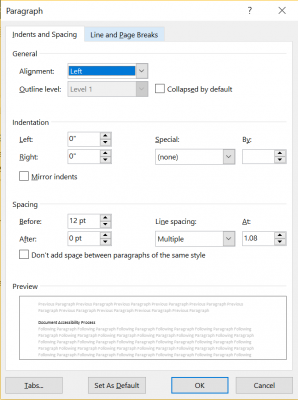
- Right click on the text
- Click Paragraph
- Increase the space after the paragraph
- Click Ok
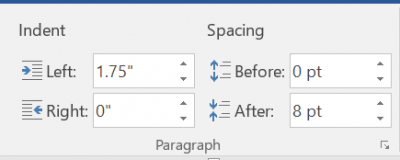
- Alternatively, highlight text after which you want the space
- Choose Layout
- In the Paragraph section, increase Spacing after the text
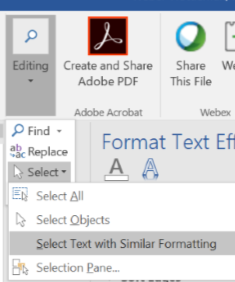
- To apply a heading style to all similarly styled text, click Select
- Choose Select all text with similar formatting
- Click on the desired heading
- Instead, highlight text after which you want the space
-
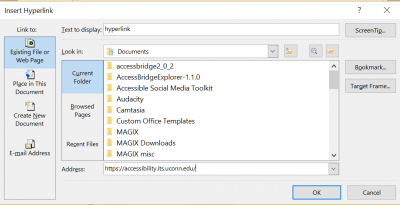
Set links in text as hyperlinks with meaningful link text
- Select text to be hyperlinked: Avoid “click here” and instead have text describe the link’s target
- Under Insert, select Links
- Click on Hyperlink
- Add the desired URL
-
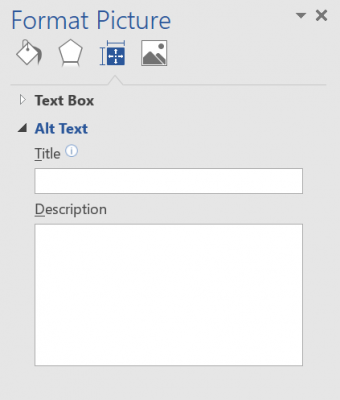
Set ALTs (alternate text) for all images
- Ensure that all of your image alignments are set to In line with text
- Click on any image in your document
- Under Format, click Alt Text

- Enter your alternate text for the image
-
Use an accessible font
- Fonts with serifs, like Times New Roman, can be difficult to read for people with low vision or learning disabilities
- Fonts like Arial and Calibri, sans serifs, are easier to read
- Use a font size of at least 12 pt.
-
Include transcripts or textual descriptions for all purely audio or purely visual media
-
Use only captioned multimedia
-
Check the document for color dependence
- Ask if the document uses color only to convey meaning
- Example of color dependence: "All red items are required"
- Example of no color dependence: "All red, bold items are required"
-
Check the document's color contrast using Color Contrast Analyser or Color Contrast Pal
- Contrast should meet a ratio of 4.5:1 (foreground: background colors)
- Adjust colors as necessary
-
Set table headers
- Click on the table
- Under Design, ensure that Header Row and/or First Column is checked
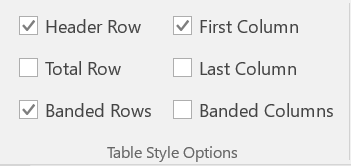
- Use Header Row if headings are over columns
- Use First Column if headings are by row
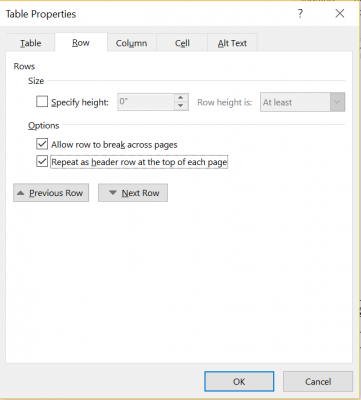
- Right click on the table
- Under Table Properties, check the box for Repeat as header row at the top of each page
- This ensures that the table will be accessible if the document is converted to a PDF
MS Word Forms
-
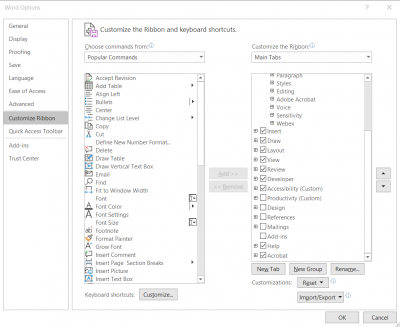
Add the Developer tab to the Word ribbon.
- Navigate to File > Options > Customize Ribbon
- Check the Developer checkbox
-
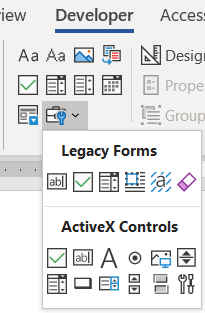
Add form elements.
- In the Developer tab, in the Controls panel, insert Legacy Form Fields from the drop down
- Examples of Legacy Form Fields include Text form field, Checkbox, and Drop-Down
- To add ActiveX Controls, enter Design Mode in the Controls panel and insert ActiveX Controls
- Examples of ActiveX Controls include Option buttons and Combo boxes
- In the Developer tab, in the Controls panel, insert Legacy Form Fields from the drop down
-
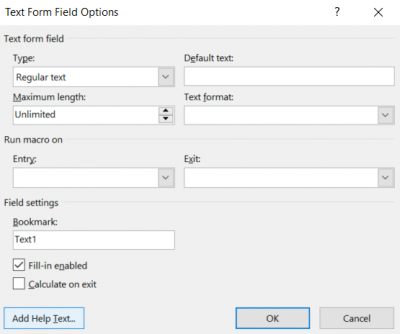
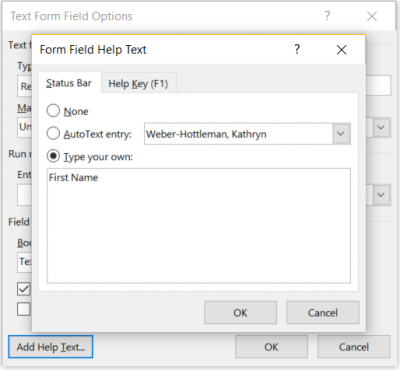
Add help text to Legacy form fields.
- Select the form field and select Properties OR right click on the field and select Properties
- Select the Add Help Text... button
- Under Help Key (F1), type help text into the textbox
- The help text might be the same as the form field's label; for example, if the field is for the respondent's first name, the help text might read "First Name". If the field asks for a user's experience, the help text might read "Give an example of your experience".
-
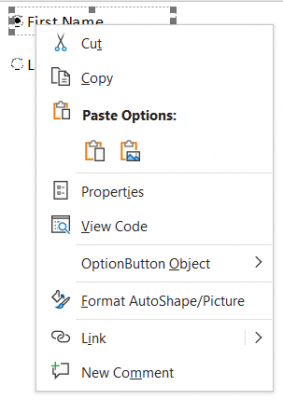
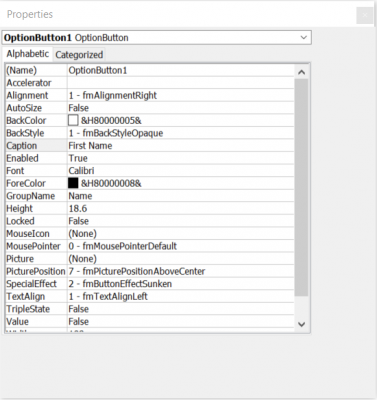
Add help text to ActiveX Controls
- Enter Design Mode under the Developer Tab, in the Controls pane
- Insert the ActiveX control into the page
- Select the form field and select Properties OR right click on the field and select Properties
- In the Properties panel, change the Caption and the Group Name
- The caption is what will display next to the ActiveX control
- The group name describes the objects that are grouped together. For example, fields for first and last name may have a group name of "Name". The group name prevents multiple options within the same group from being activated, so this is particularly useful for radio or option buttons
- Close the Properties panel
- Exit Design Mode to make the controls available to users
-
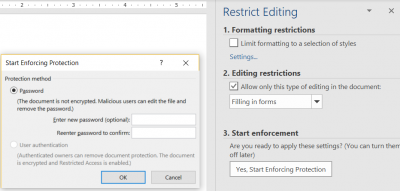
Restrict editing to make the form work with assistive technology, like screen readers
- On the Developer tab, select Restrict Editing
- Under Editing Restrictions, check the box next to Allow only this type of editing in the document:
- In the drop down, choose Filling in forms
- Activate the Yes, Start Enforcing Protection button
- Enter a password (optional)