Manually Making PowerPoint Accessible
If not using the Check Accessibility Tool, use the following steps:
-
Use templates to set the slide’s correct reading order
- PowerPoint will already have an idea of logical reading order based on the objects in a predefined layout
- To adjust reading order: Under Home, click Arrange
- Click Selection Pane
- This will show you the slide’s tab order
- Note: PowerPoint tab order reads from bottom to top; this means that the first item read by a screen reader will be the bottom item in the selection pane
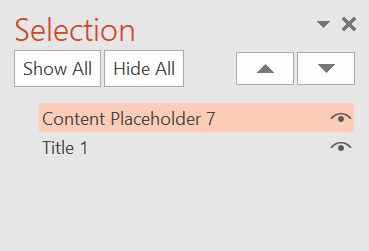
- In the above image, the first item read would be Title 1
-
To modify templates, go to View and click on Slide Master
- Slide Master allows you to edit template layouts
- Use the selection pane to see the layout’s tab order
- After modifying the layout, adjust the tab order to follow a logical reading order
-
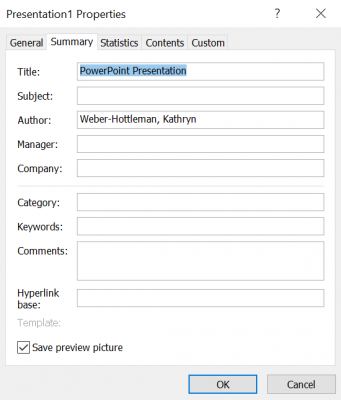
Under File, select Properties
- Click Advanced Properties
- Under Summary, add a Title property
- The Title must be descriptive of the document’s content; it may be the same as the filename
-
If your PowerPoint is in a language other than English, select Review
- Under Language, choose Language Preferences
- Set the editing language and, if necessary, the display and help languages

-
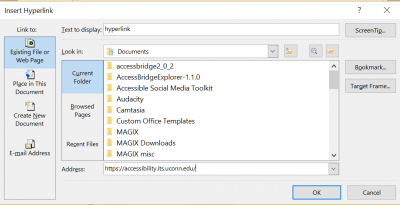
Set links in text as hyperlinks with meaningful link text
- Select text to be hyperlinked: Avoid “click here” and instead have text describe the link’s target
- Under Insert, select Links
- Click on Hyperlink
- Add the desired URL
-
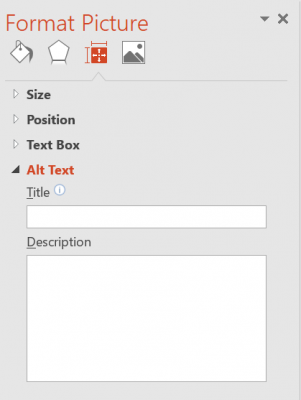
Set ALTs (alternate text) for all images
- Right click on any image in your document
- Click Format Picture
- Under the Size & Properties tab, choose Alt Text
- Enter your alternate text for the image
-
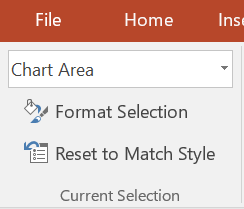
Set ALTs (alternate text) for all charts and graphs
- Click on a chart or graph
- Under Format, select Format Selection
- Under the Size & Properties tab, choose Alt Text
- Enter your alternate text for the chart or graph
-
Use an accessible font
- Fonts with serifs, like Times New Roman, can be difficult to read for people with low vision or learning disabilities
- Fonts like Arial and Calibri, sans serifs, are easier to read
- Use a font size of at least 11 pt.
-
Include transcripts or textual descriptions for all purely audio or purely visual media
-
Use only captioned multimedia
-
Check the document for color dependence
- Ask if the document uses color only to convey meaning
- Example of color dependence: "All red items are required"
- Example of no color dependence: "All red, bold items are required"
-
Check the document's color contrast using Color Contrast Analyser or Color Contrast Pal
- Contrast should meet a ratio of 4.5:1 (foreground: background colors)
- Adjust colors as necessary
- Put text on solid backgrounds
- Keeping text on solid backgrounds makes it easier to read for users who have vision impairments or learning disabilities
- It can also help keep attention on the text, which is valuable for those with attention difficulties
-
Minimize animations and eliminate flashing elements
- Some users have disabilities that can be triggered by moving or flashing material
- Simple animations and avoidance of flashing elements helps to make your slides usable for these individuals
-
Set table headers
- Click on the table
- Under Design, ensure that Header Row and/or First Column is checked
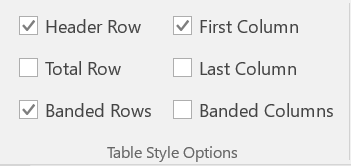
- Use Header Row if headings are over columns
- Use First Column if headings are by row