YouTube can use speech recognition technology to automatically create captions for your videos. Automatic captions may not be ready at the time that you upload a video. Processing time depends on the complexity of the video's audio.
Keep in mind that if you use auto-generated captions, you will need to revise them for accuracy.
To add YouTube automatically generated captions, use the following steps:
- Upload your video to YouTube.
- Click on the link of the video to which you would like to add captions.
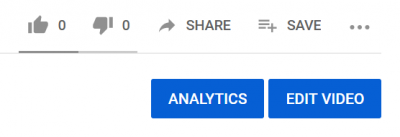
- When the video page appears, click on the Edit Video button.
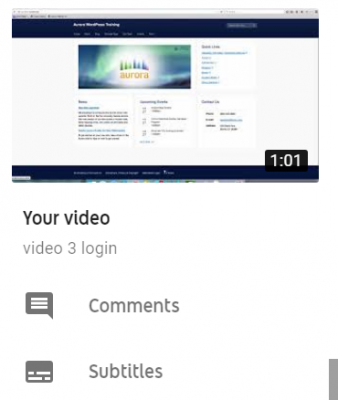
- In the Video side panel, choose Subtitles. You will need to scroll down through the list to see it.
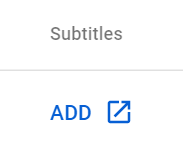
- Click Add.
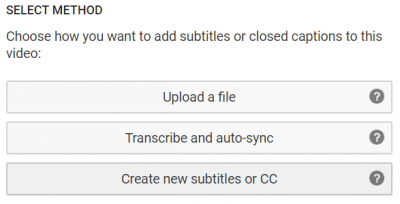
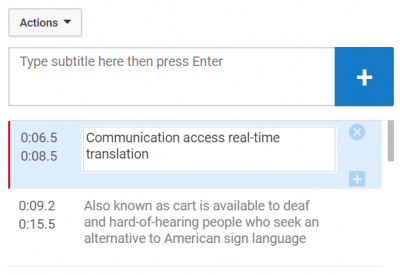
- If you are automatically generating captions, choose Create new subtitles or CC.
- Edit your captions. Remember, auto-generated captions are only 70-85% accurate, and the industry standard calls for 99% accuracy or higher. You will need to edit punctuation, spelling, and speaker changes.
- Save your changes.
- Return to YouTube Studio.
- Click Videos and select the newly captioned video.
- In the Video side panel, choose Subtitles. You will need to scroll down through the list to see it.
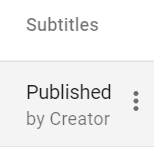
- Under the Subtitles heading, next to Published by Creator, click the three buttons to view more options.
- Download captions.
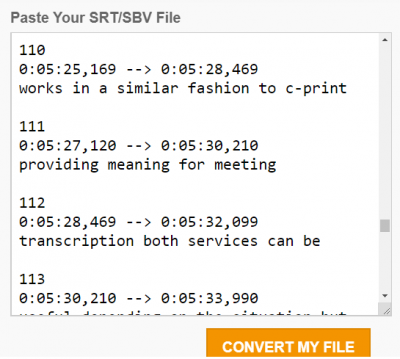
- To change the caption file's format, visit Happyscribe Free Converter. Change the output type to WEBVTT.
- Paste the text from the YouTube SBV file into the text editor and click the Convert My File button.
- After uploading your video to Vimeo, select Edit Settings.
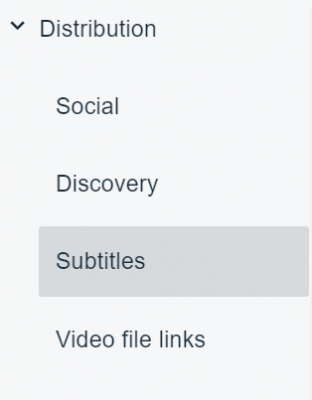
- In the Settings panel, select Distribution and then Subtitles.
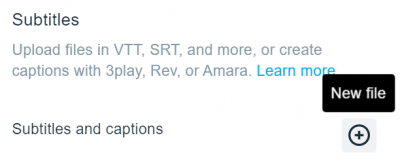
- On the Subtitles screen, select the + button to upload your WEBVTT file.
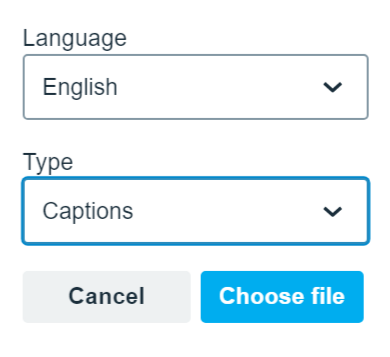
- Set the language, and under Type, select Captions.
- Select the Choose file button and find the WEBVTT file in your Downloads folder.
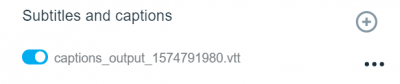
- Toggle Captions on.
- Click Save.