YouTube

To ensure that your YouTube videos are as accessible as possible, use the following best practices.

Manually edit auto-generated captions.

YouTube automatically generates captions based on its best guess at interpreting the audio.  Understandably, it is not 100% accurate.  Using auto-generated captions saves time, and manually editing the captions ensures that users with disabilities have access to all the video’s information. Learn more about YouTube captions below.

Edit the embed code.

A few minor adjustments, like adding a title to your video, make your video display as accessibly as possible on your page.  Follow the steps below to edit the embed code.

Captions

YouTube can use speech recognition technology to automatically create captions for your videos.  Automatic captions may not be ready at the time that you upload a video. Processing time depends on the complexity of the video's audio.

Keep in mind that if you use auto-generated captions, you will need to revise them for accuracy.

You can also add captions by uploading a caption file to your video. These types of files contain both the text and time codes for when each line of text should be displayed.

Finally, you can transcribe your video and YouTube will automatically line up your text with the speech in the video. You will need to set the timing to sync with your video.

To add YouTube automatically generated captions, use the following steps:

  1. Upload your video to YouTube.
  2. Click on the link of the video to which you would like to add captions.
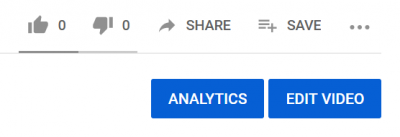
  3. When the video page appears, click on the Edit Video button.
    1. analytics and edit video buttons
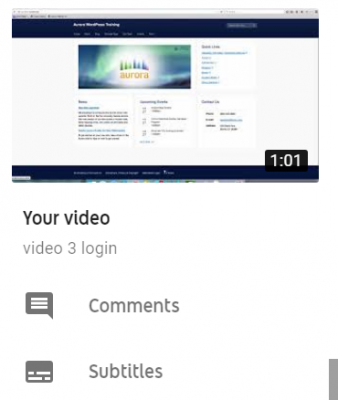
  4. In the Video side panel, choose Subtitles.  You will need to scroll down through the list to see it.
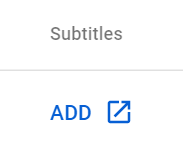
    1. Subtitles link shown under Comments link
  5. Click Add.
    1. subtitles add link
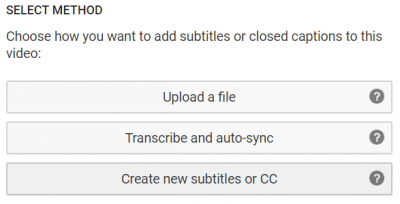
  6. If you are automatically generating captions, choose Create new subtitles or CC.  If you are uploading a .srt file or other caption file, choose Upload a file.
    1. choose how you want to add subtitles or closed captions to this video: Upload a file, transcribe and auto-sync, or create new subtitles or CC
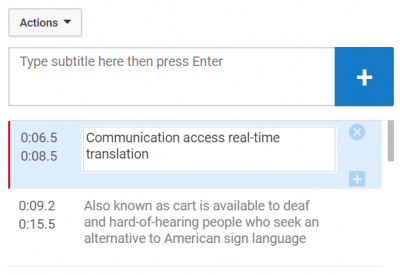
  7. Edit your captions.  Remember, auto-generated captions are only 70-85% accurate, and the industry standard calls for 99% accuracy or higher.  You will need to edit punctuation, spelling, and speaker changes.
    1. caption editor with captions selected for editing
  8. Save your changes.

Edit Embed Code

    1. For Aurora pages: Log into your site. Select the page you want to edit and go into edit mode.
    2. For Aurora pages: ‘Visual’ mode is the default edit mode; change to ‘Text’ mode
    3. Paste the embed code into the text editor.

Embed code will look like this: <iframe width="560" height="315" src="https://www.youtube.com/embed/k15YmebYBaw" frameborder="0" allow="accelerometer; autoplay; clipboard-write; encrypted-media; gyroscope; picture-in-picture" allowfullscreen></iframe>

    1. Delete ‘allow="autoplay; encrypted-media"’ from the embed code
    2. Add a title attribute to the embed code using title="Name"
    3. If you would like to disable showing suggested videos at the end of your YouTube video, add ?rel=0 to the end of your source (src="") code

Embed code will now look like this: <iframe width="560" height="315" src="https://www.youtube.com/embed/k15YmebYBaw?rel=0" frameborder="0" allow="accelerometer; clipboard-write; gyroscope; picture-in-picture" allowfullscreen></iframe>

References

Berman, D. (2014, May 15). Yes, you can make YouTube video accessible... here's how! Retrieved July 18, 2018, from https://web.archive.org/web/20200225214222/http://designedgecanada.com/blogs/yes-you-can-make-youtube-video-accessible-here-is-how/


Last modified April 23, 2021